Creating and Launching Your First Menu
5 Steps to Set up Your Kiosk:
Follow these 5 steps to learn how to edit and display your menu!
The 5 steps to kiosk setup success:
Step 1: Create Your Item Library. 📖
Step 2: Import Your Menu. 📄
Step 3: Edit Your Menu. ✏️
Step 4: Make Changes to Your Menu after It's Live. 🤠
Step 5: Re-import Your Menu (as needed). 🔄
Step 1: Create an Item Library in Square link
First things first, make sure you’ve set up your item library in Square. If you already have an item library, you’re a rockstar 😎, and you can skip ahead to Step 2!
1. Sign into your Square account at squareup.com.
2. From your home screen, go to Items. Then push Create an Item. After you've created that first item, you're on your way to building a library!
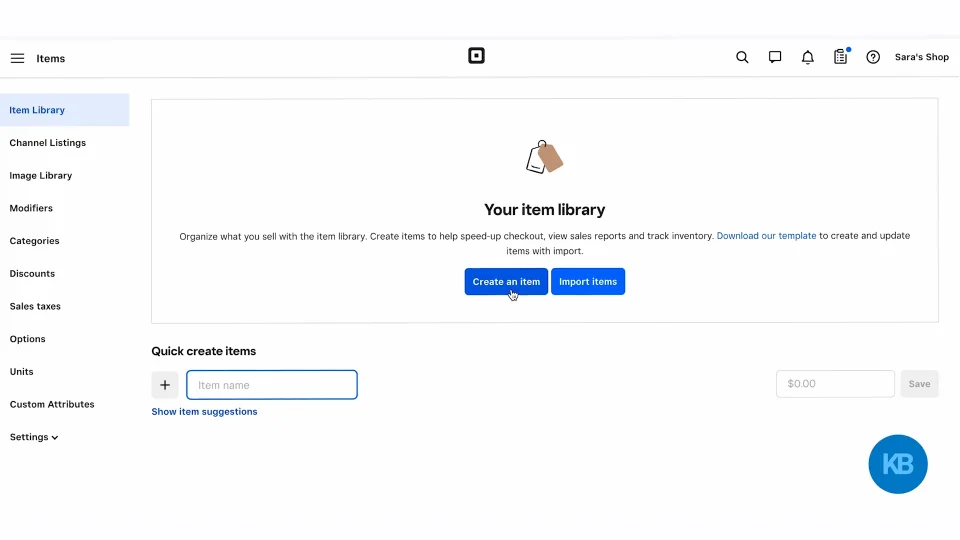
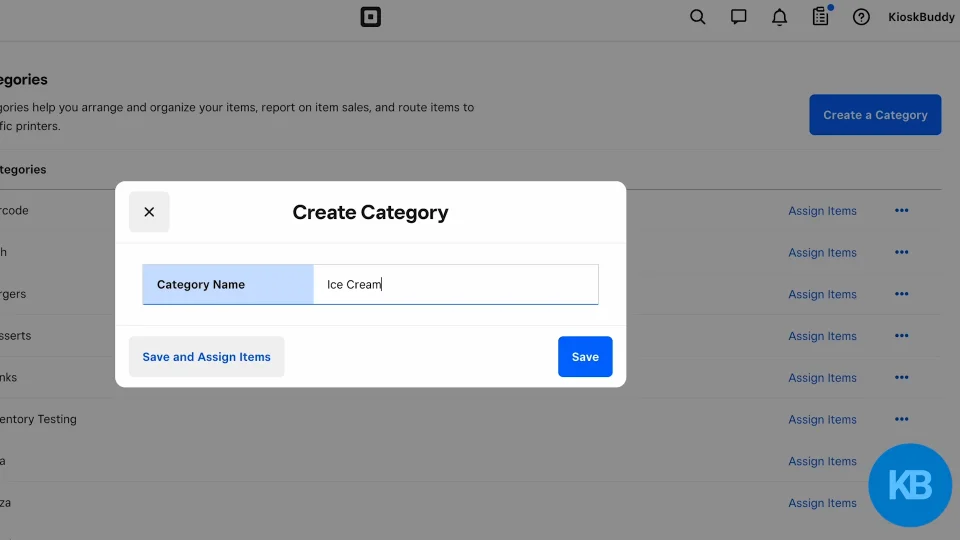
Pro-tip: We also recommend creating categories to group your items.
If you need additional help creating your item library, we suggest checking out this guide from Square.
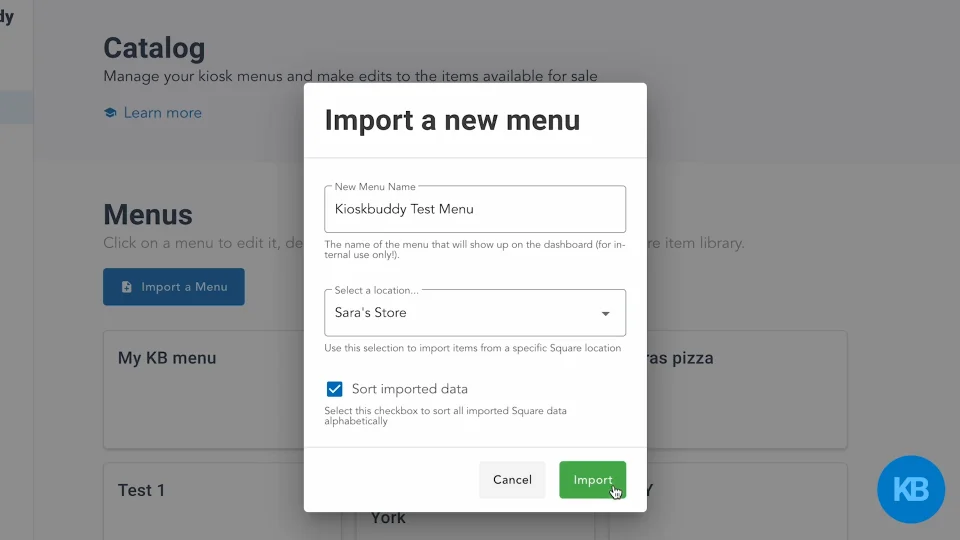
Step 2: Import Your Menu link
In this step, you'll import your menu to KioskBuddy and get familiar with your KioskBuddy Dashboard.
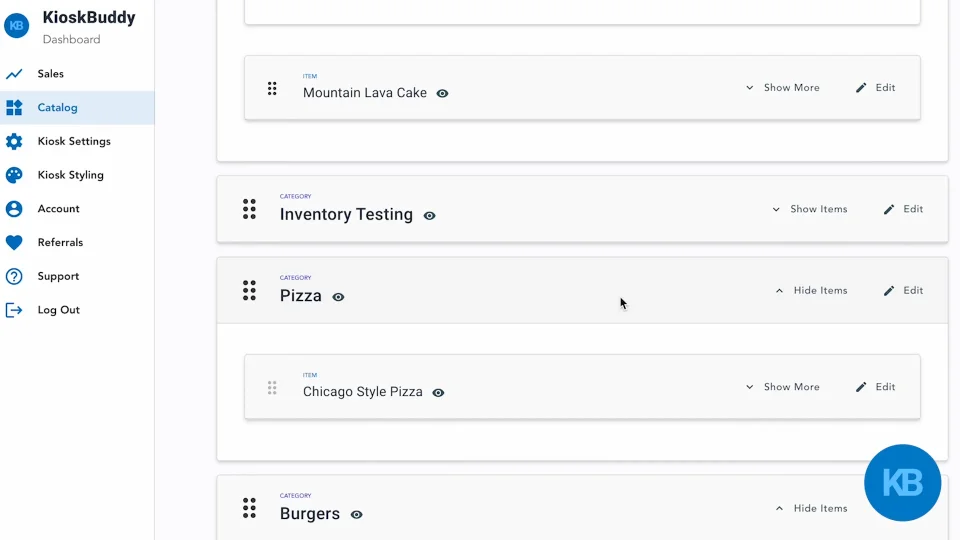
Step 3: Edit Your Menu link
After you’ve imported your menu, you can decide on how your menu looks and behaves.
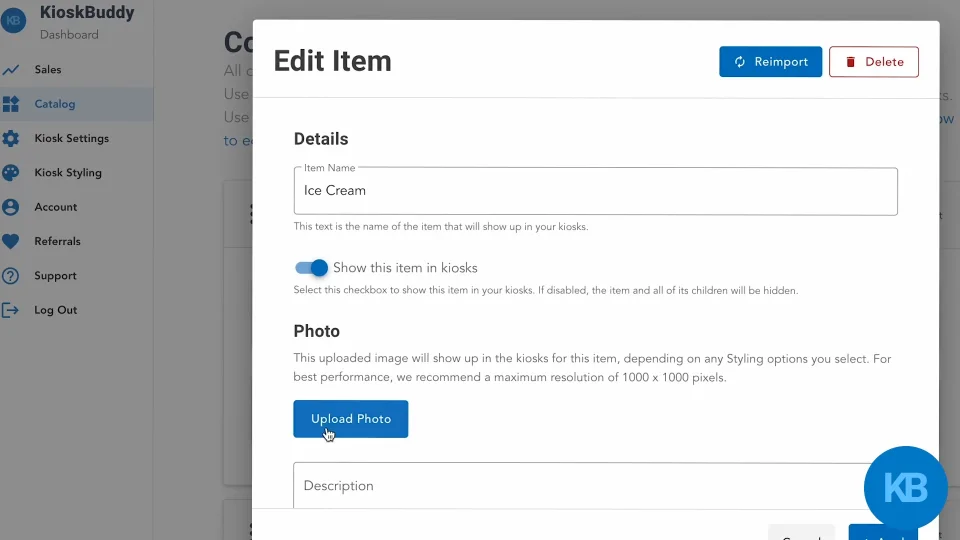
Pro-tip: We recommend you keep your kiosk app open next to you while you make any changes. This way, you can see the layout updates you’re making in real-time.
Step 4: Make Changes to Your Menu link
Learn to edit your menu in KioskBuddy after it's live.
Step 5: Re-Import Your Menu (as needed) link
If you make any changes to your Square item library, for example, adding new items, those won’t automatically pop up in KioskBuddy. You’ll have to re-import your menu for those to show up in your kiosk. Press the Reimport Button to bring those changes across.
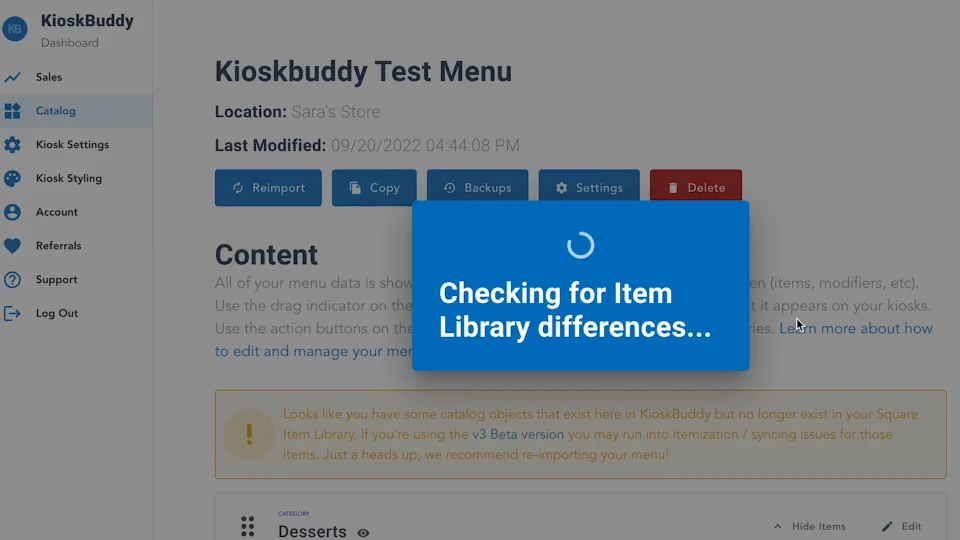
Pro-tip: When you reimport a menu, we’ll never overwrite your menu without you explicitly selecting and applying which settings to overwrite.
KioskBuddy-specific settings like time controls, order of categories/items/etc, will never get affected when reimporting.
Square settings like a picture, price, name, description, etc., will only get overwritten if there is a difference detected and you select and apply the change.