Open Tabs
For setups like traditional sit-down dining restaurants and bars, customers typically continue to place orders before closing out the bill and paying. KioskBuddy has an Open Tab feature made for this type of setup. Here's everything you need to know about KioskBuddy Open Tabs!
How It Works link
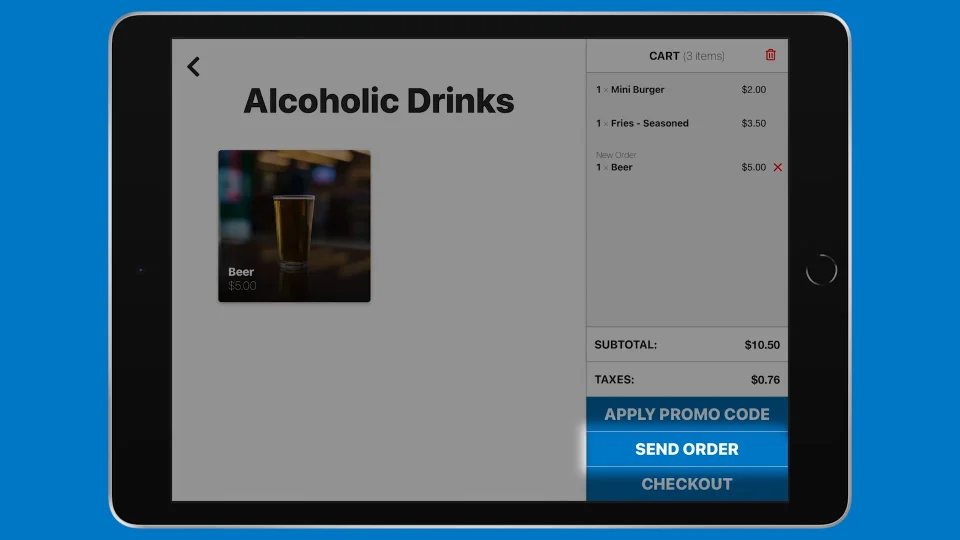
Upon starting kiosk mode, the KioskBuddy ordering flow (customizing items, adding items to cart, etc) works as usual. The main difference is when customers add new items to their order, these items will show up differently in the cart:
When the customer is ready to send in their order, they can use the new SEND ORDER button that appears when Open Tab mode is enabled. This sends in their latest order to the kitchen for fulfillment.

If customers want to order more, they can continue to order with the same flow, and their current session will remain until the order is paid for. They'll be able to see their past items as well as new items they've added to their order:

When they're ready to check out, they can pay as usual in KioskBuddy with the CHECKOUT button. This would start the same checkout flow steps and payment flow as in normal KioskBuddy operation. As a final step, any remaining un-sent items will be printed since it’s still in the cart and would be charged.
Setup link
In the KioskBuddy app under the Payment Settings section, you'll find a new option to Enable Open Tab mode. When this setting is enabled, you can start kiosk mode which will activate the open tab functionality described earlier.
You'll also want to connect KioskBuddy to at least one printer in the Printer section. Whenever customers send in part of their order, these printers will receive a printed ticket with the latest part of their order for fulfillment. Typically this is a kitchen printer that your back of house staff can access.
If you want to use a tablet instead of a printer, you have the option to connect Fresh KDS to KioskBuddy as a printer.
Pre-auth link
For security purposes, you can optionally set up a Credit Card Pre-authorization Checkout Flow step to require a credit card from the customer in order to proceed with ordering. The card will be saved on file, only for the duration of the order. Credit Card Pre-authorization steps are always required and always show up at the start of a customer's session. When you set up a Credit Card Pre-authorization step, your customers will see this screen where they'll need to add a card to proceed:
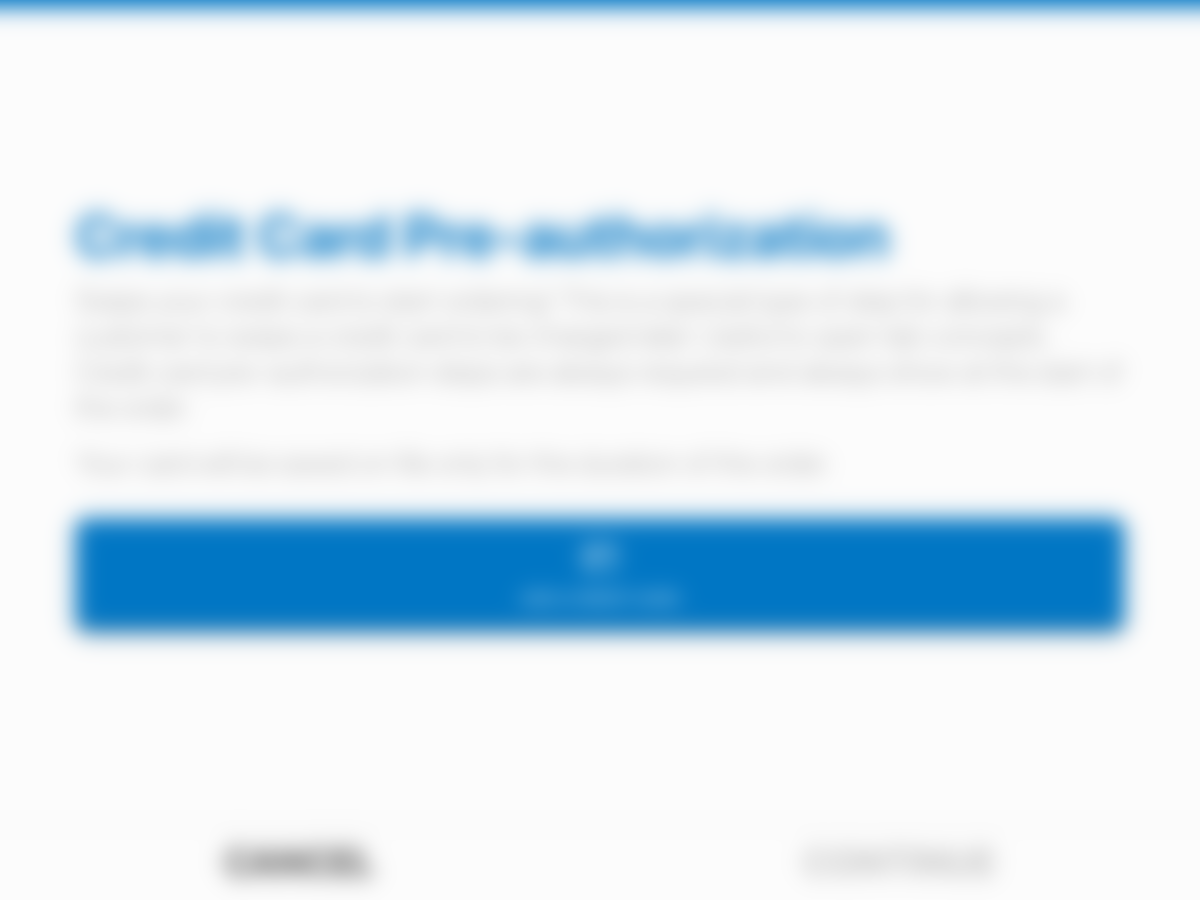
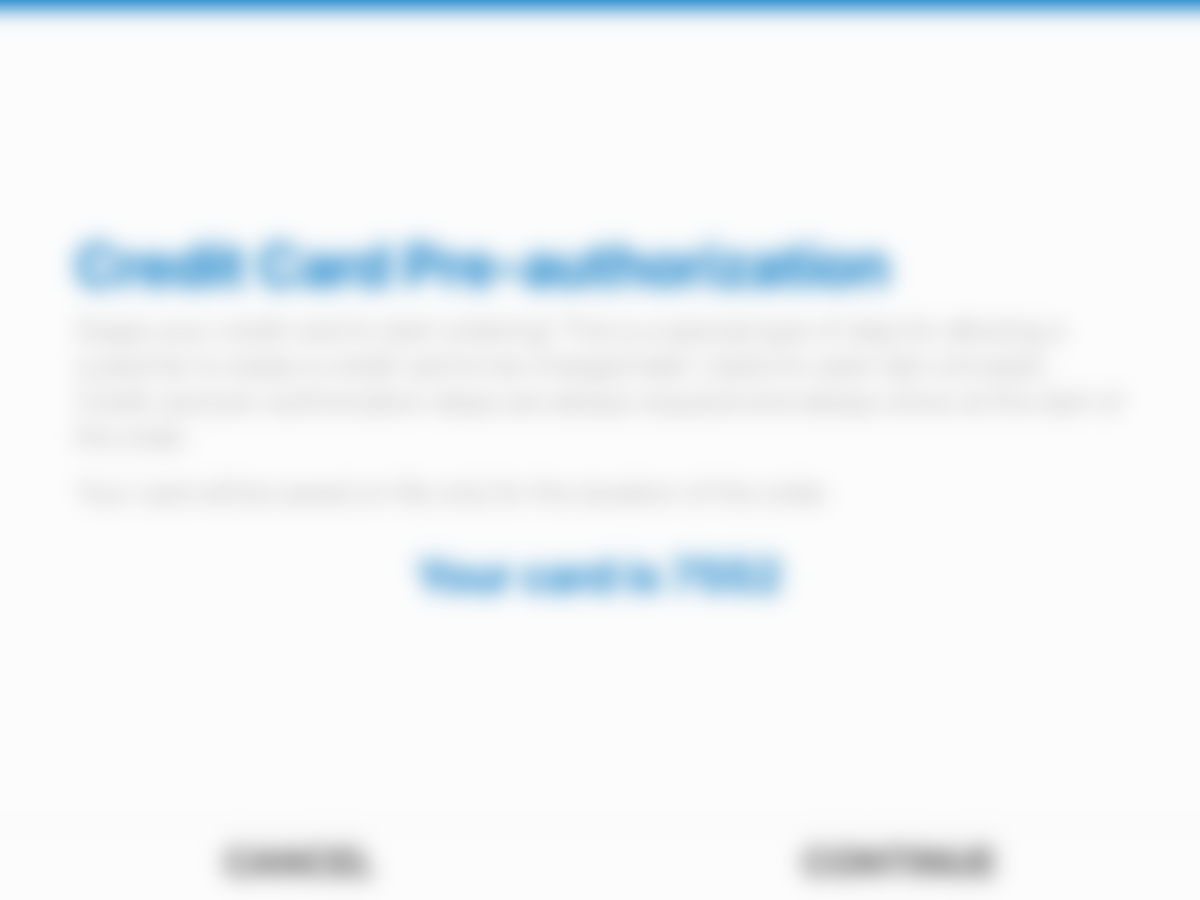
Customers can swipe, dip, tap, or even manually enter their credit card depending on the payment methods configured on your device. Once a card is added, this confirmation screen will appear, and the customer can continue ordering:
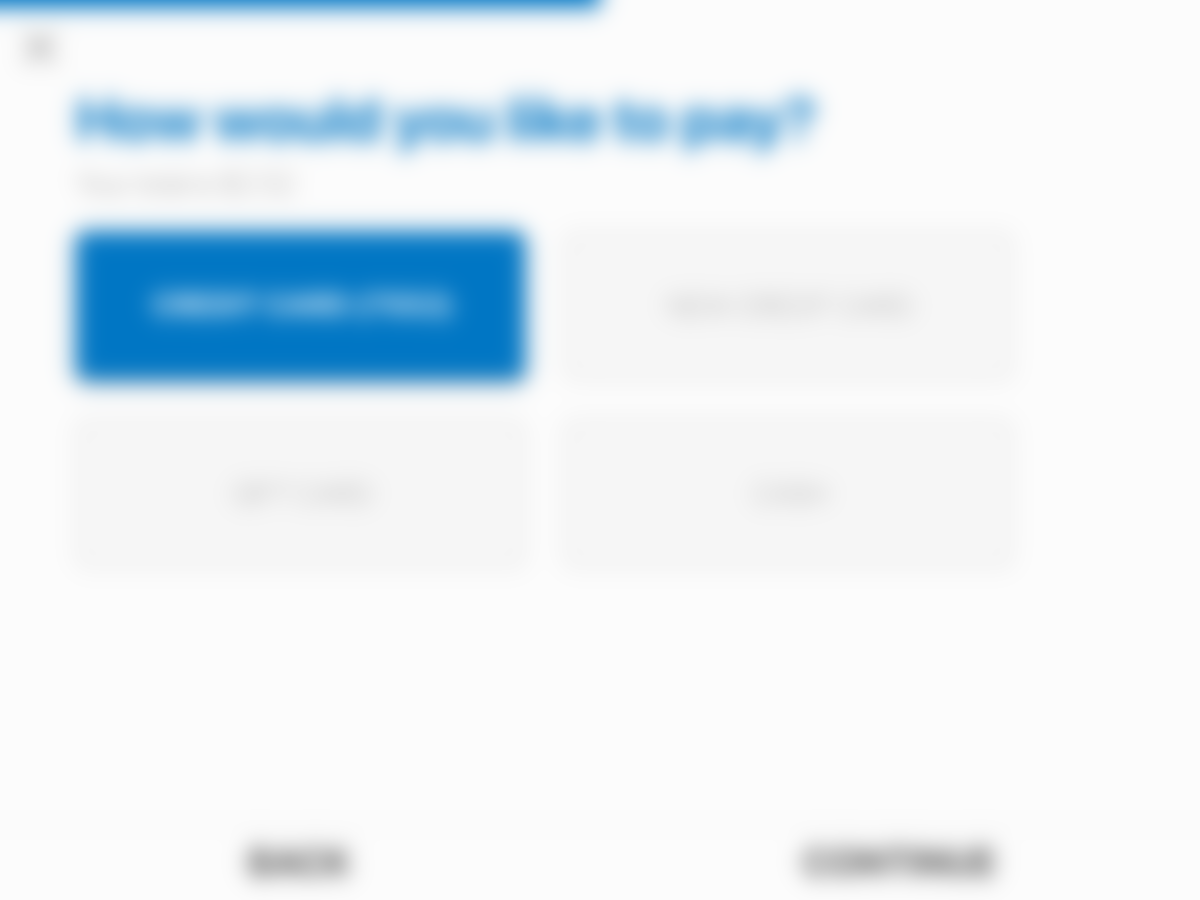
When it's time to check out and close out their tab, the customer can continue to the payment selection screen with the credit card that they added at the beginning of the order or with a completely different credit card to pay.
Since a credit card was saved on file, your staff can also close out the order via the normal checkout flow once the customer is finished with their session.
Customization link
That's pretty much it for setup of open tab - there are also a few settings on the KioskBuddy Dashboard that you can use to customize the open tab functionality. Head on over to the Kiosk Settings tab, Advanced Settings section to find these new settings:
short_textOrder Button Text
You can use this text field to customize the button customers use to send in their order. The default is "Send Order".
short_textNew Order Text
You can use this text field to customize the text that shows up next to items that are new to an open tab order. The default is "New Order".
Removing Items link
In rare cases, you may want to remove items from a customer's order. For example, they may have accidentally ordered something and want to cancel part of their order. This is possible with the Kiosks view, where you can see the current state of any of your kiosks. Find the kiosk you're interested in modifying, then under Cart Items you'll see a button to remove any unwanted items:

